Use Mac Built-In Encryption to Protect a USB Drive
To encrypt a USB drive on Mac natively: Open Disk Utility (Finder > Applications > Utilities). Select your USB drive from the sidebar. Click Erase, name the drive, choose Mac OS Extended (Journaled) or APFS as the format, and select GUID Partition Map. Change the format to Mac OS Extended (Journaled, Encrypted) or APFS (Encrypted), enter a robust password, and click Erase.
Securing an external flash drive on macOS is straightforward and completely free using native OS tools. Whether you want to format and encrypt a brand-new drive, or password-protect an current drive without losing data, This walkthrough explains the exact steps.
Guide Contents
- Before You Start: Requirements & Compatibility
- Why is there "No choice to Encrypt USB Drive Mac"?
- approach 1: Encrypt via Disk Utility (Erases Data)
- approach 2: Encrypt via Finder (No Erasing Required)
- The Cross-Platform Problem: Mac + Windows
- Software Alternative: Folder Lock / USB Secure
- approaches Comparison Table
- Security Deep Dive: BadUSB & Hardware Encryption
- Troubleshooting & Recovery
- Frequently Asked Questions
What You Need Before Starting
Apple offers robust, AES-256 hardware-accelerated encryption natively within macOS. You do not need to purchase external software if you only plan to use your encrypted USB drive on other Mac computers.
macOS Version Compatibility Note: The steps below are fully verified for macOS Ventura, Sonoma, and Sequoia. If you are using an older version (Catalina or Mojave), the core Disk Utility steps remain identical, though APFS format may not be available for older spinning hard drives.
Addressing: "No Option to Encrypt USB Drive Mac"
One of the most frequent problems Mac users face is right-clicking a drive in Finder and realizing the "Encrypt [Drive Name]" choice is missing. Alternatively, the "Encrypted" format choices might be hidden in Disk Utility.
The Cause: macOS can only apply native encryption to drives that use the GUID Partition Map scheme. Most retail USB flash drives are formatted at the factory with a Master Boot Record (MBR) partition map to ensure compatibility with older Windows PCs, TVs, and gaming consoles.
The Fix: You must reformat the drive using Disk Utility, explicitly changing the "Scheme" dropdown from MBR to GUID Partition Map. Once GUID is selected, the APFS (Encrypted) and Mac OS Extended (Encrypted) choices will immediately appear.
Mac Disk Utility USB Encryption — Step-by-Step
This part covers the native macOS approaches. If you need to access this drive on a Windows PC later, skip to the cross-platform section.
Method 1: How to Encrypt a USB Drive via Disk Utility (Erases Data)
Use this approach if you have a new flash drive, or if you have already backed up the data currently on the drive. This process will securely wipe everything currently on the USB stick.
- Plug your USB drive into your Mac.
- Open Disk Utility (Press Cmd + Space, type "Disk Utility", and hit Enter).
- In the left sidebar, locate your USB drive under the "External" heading. Important: Click the View button in the top left of the window and select Show All Devices. Click the top-level drive name, not the volume underneath it.
- Click the Erase button in the top toolbar.
- Enter a Name for the drive.
- Change the Scheme to GUID Partition Map (if this is not visible, you didn't click "Show All Devices").
- Change the Format to APFS (Encrypted) or Mac OS Extended (Journaled, Encrypted).
- A prompt will appear. Enter a robust password and provide a hint. Click Choose.
- Click Erase. Once finished, your drive is secured with AES encryption.
How to Verify it Worked: Eject the drive safely and physically unplug it. Plug it back in. macOS should immediately prompt you with a password dialog box before the drive mounts to the desktop.
Method 2: Encrypt USB Drive on Mac Without Losing Data
If your USB drive is already formatted correctly (GUID Partition Map with Mac OS Extended or APFS) and contains data you don't want to erase, you can apply encryption non-destructively via Finder.
- Open Finder.
- Locate your USB drive in the left sidebar or on your Desktop.
- Right-click (or Control-click) the drive.
- Select Encrypt "[Your Drive Name]" from the context menu.
- Enter and verify your new password. Add a password hint.
- Click Encrypt Disk.
Note: The encryption process happens in the background. Depending on the size of the drive and the amount of data, this could take anywhere from a few minutes to several hours. Do not unplug the drive until the process completes.
Alternative: Creating an Encrypted Disk Image
If you want to encrypt files on a usb drive but leave the rest of the drive open for public use (e.g., sharing a presentation file while keeping personal documents locked), create an encrypted DMG.
- Open Disk Utility.
- Go to menu bar: File > New Image > Blank Image.
- Save As: Choose a name. "Where": Select your USB drive.
- Size: Set the maximum size for your secure vault (e.g., 500 MB).
- Format: APFS or Mac OS Extended.
- Encryption: 256-bit AES encryption. Enter a password.
- Image Format: read/write disk image. Click Save.
You now have a secure, password-secured "folder" (a .dmg file) sitting on your normal USB drive.
Cross-Platform Compatibility: Mac-Encrypted USB on Windows
The native macOS encryption approaches (APFS and Mac OS Extended) are proprietary to Apple. If you encrypt a USB stick using Disk Utility, a Windows PC will not be able to read it, open it, or even prompt you for a password. Windows will simply see an unrecognizable drive and ask you to format it.
If you need to move data securely between a MacBook and a Windows 10/11 desktop, native OS tools fall short. You cannot natively use Windows BitLocker on a Mac, and you cannot natively use FileVault on Windows.
Cross-Platform USB Security
For users who need to encrypt a USB drive for Mac and Windows environments simultaneously, we recommend dedicated portable security software. Unlike native OS functions, these specialized utilities run directly from the memory stick itself, allowing you to authenticate on guest computers without needing administrator privileges. Advanced tools even offer virtualized viewing, letting you read isolated files safely without decrypting the entire volume—preventing data corruption if the drive is abruptly disconnected.



> Initializing portable vault container...
> Applying AES-256 military-grade encryption...
> Mounting virtual drive: SUCCESS
Status: Drive secured and cross-platform ready.
Developed by NewSoftwares.net. Works independently of BitLocker and FileVault.
Which Option is Right For You?
Not sure whether to use Disk Utility, a DMG file, or external software like USB Secure? Use our interactive tool below.
Where will you be plugging this USB drive in?
Recommendation:
Please select an choice above.

Mac USB Encryption Method Comparison
| function / Requirement | Mac Disk Utility (APFS) | Encrypted DMG File | USB Secure / USB Block |
|---|---|---|---|
| Compatibility | |||
| Works on macOS | Yes (Native) | Yes (Native) | Yes |
| Works on Windows 10/11 | No | No | Yes |
| Requires Admin Rights on Guest PC | No (if Mac) | No (if Mac) | No |
| Security & Data | |||
| Encryption Standard | AES-256 | AES-128 or AES-256 | AES-256 |
| Can Encrypt Without Erasing? | Yes (via Finder context menu) | N/A (Creates new file) | Yes |
| Verdict: Best For... | Mac-only users with full drives | Sharing unencrypted drives with a private folder | Professionals sharing files securely across platforms |
How USB Encryption Protects Your Data
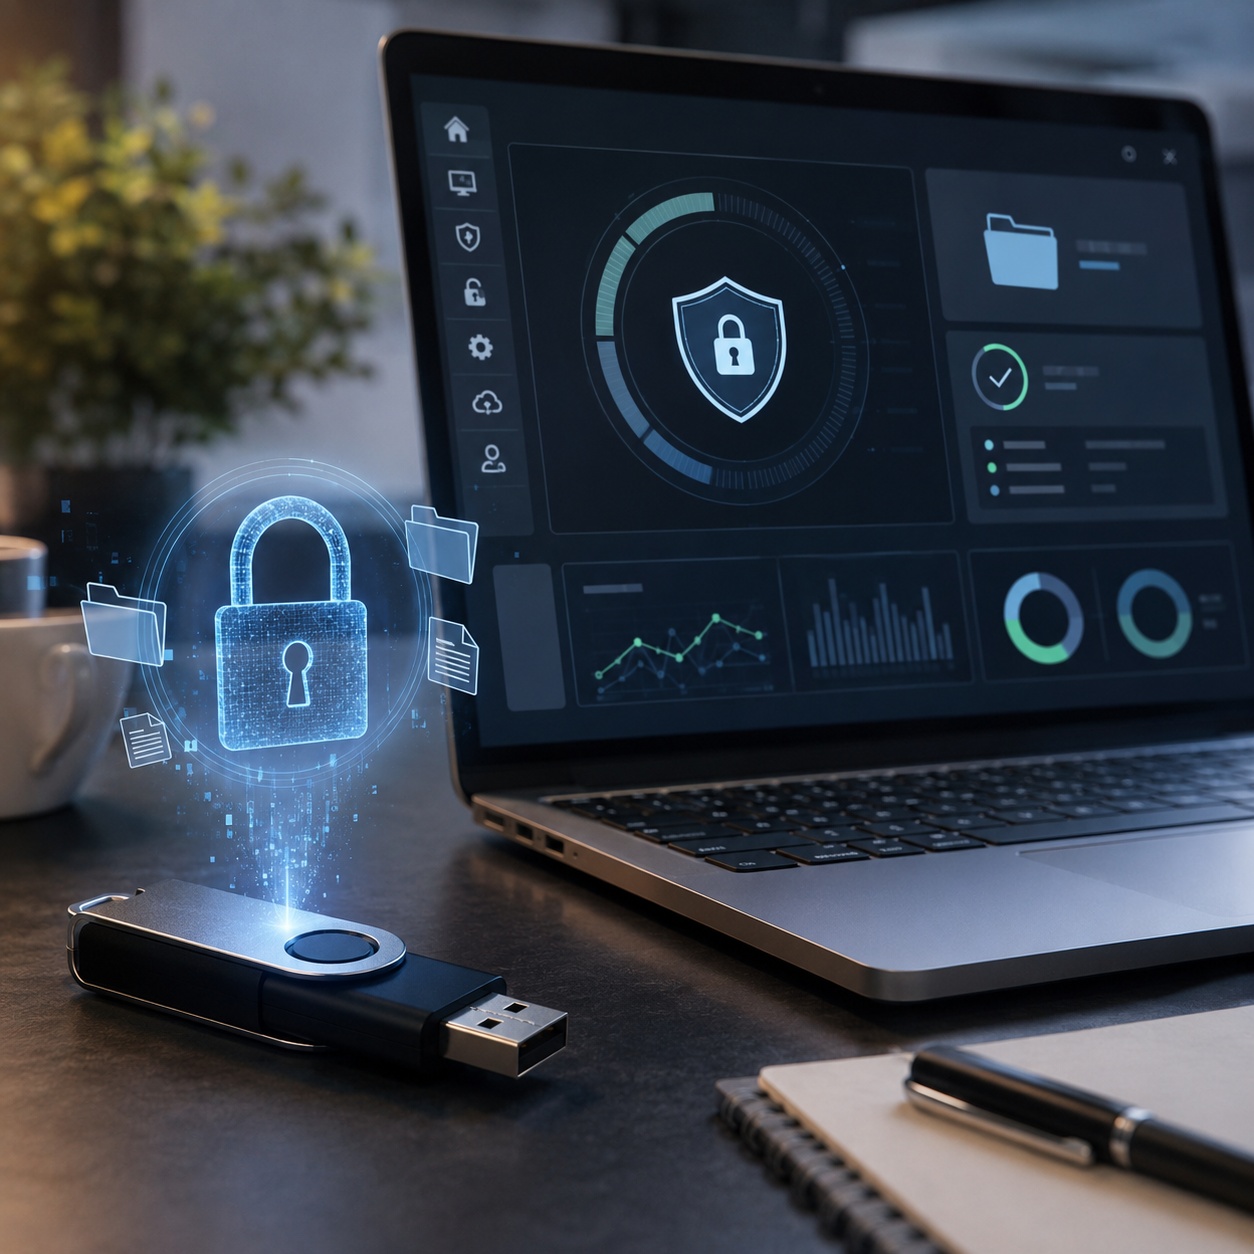
When you encrypt a flash drive, the raw data on the disk is scrambled using complex mathematical algorithms (usually AES-256). Without the exact cryptographic key (your password), the data appears as randomized, unreadable noise.
Hardware-encrypted vs software-encrypted USB drives
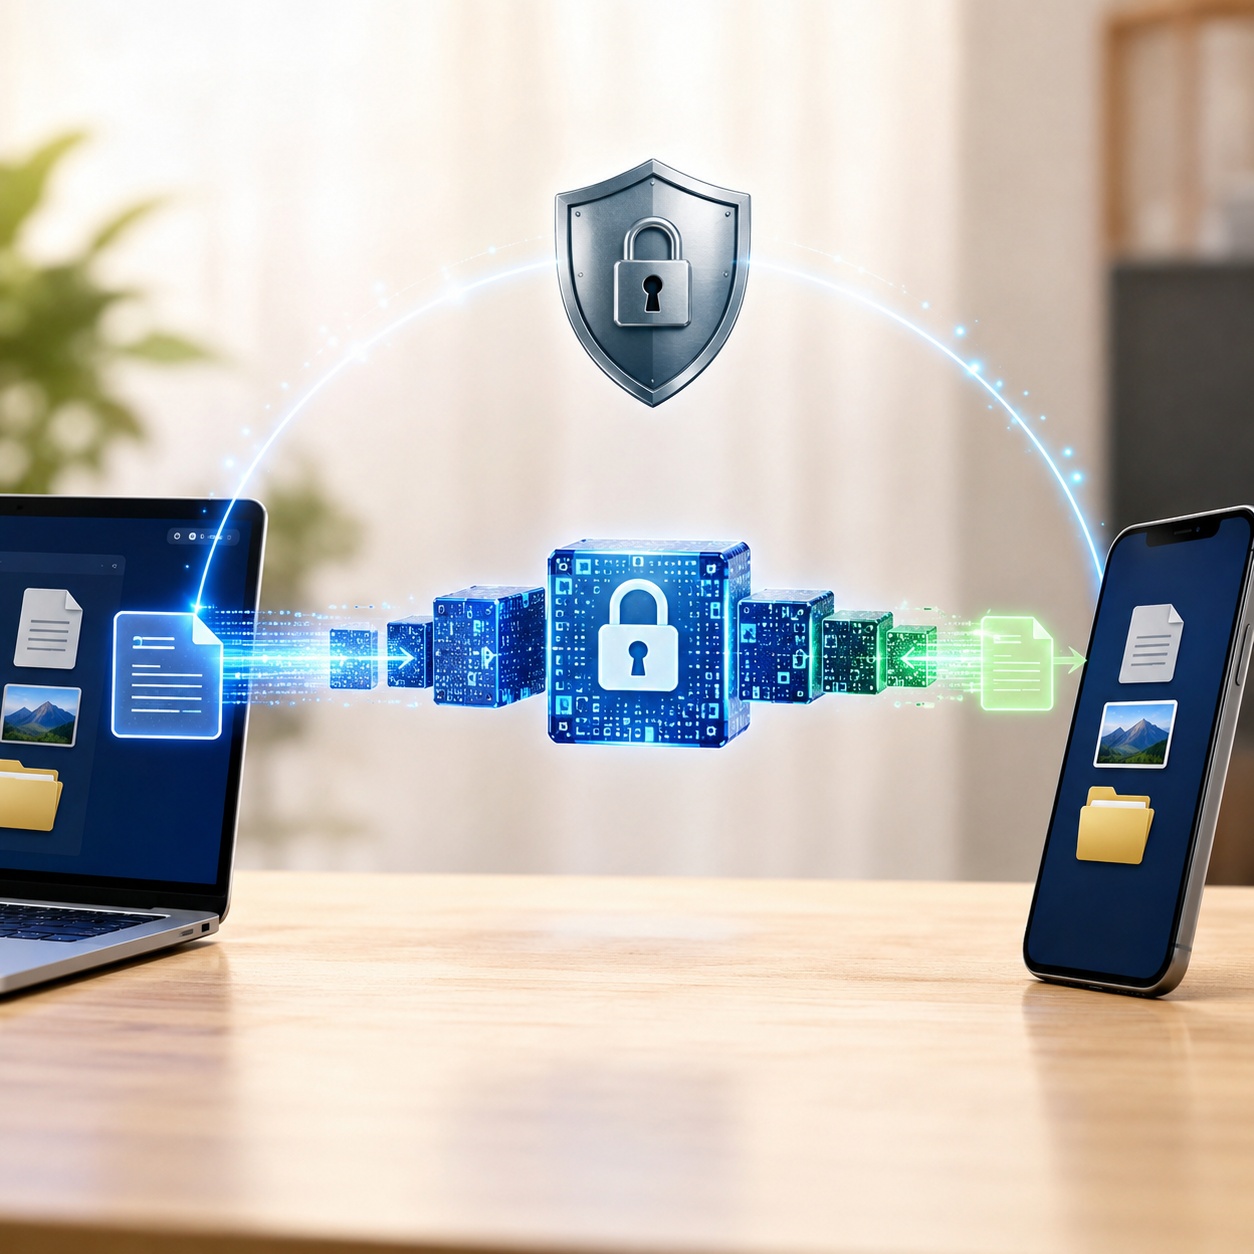
Software Encryption To scramble and unscramble data as it moves to and from the drive, (like Disk Utility, FileVault, or Folder Lock) relies on the computer's CPU. It is highly secure, affordable (often free), but can sometimes be slightly slower on very old machines.
Hardware Encryption requires purchasing a specialized USB drive (often with a physical keypad on it). The encryption chip lives inside the USB drive itself. These are immune to keyloggers on the host computer but are significantly more expensive and cannot be updated if a firmware flaw is discovered.
BadUSB and how do I protect against it? Explained
The BadUSB attack vector explained: A BadUSB is a malicious device that looks like a normal USB flash drive but acts like a keyboard when plugged in. It rapidly types pre-programmed commands into your Terminal or Command Prompt to install malware or steal data. Software encryption safeguards your data from being read, but it does not safeguard your computer if you plug in a random, malicious USB drive you found in public. Never plug untrusted USB drives into your Mac.

Endpoint Control and Organizational USB Policies
While encrypting a portable drive protects the data resting on the device, organizations must also defend the host computers from data extraction. Comprehensive security requires endpoint lockdown protocols that block unauthorized mass storage devices at the port level. By implementing specialized port-blocking applications, IT administrators can establish a default-deny policy for all unknown memory sticks, optical media, and unauthorized network pathways.
These robust endpoint defenses allow network managers to explicitly whitelist trusted, company-issued devices. If an employee attempts to insert an unapproved device, the system demands administrative authentication. Furthermore, enterprise blocking tools can operate invisibly in the background, quietly recording failed access attempts, unauthorized uninstallation efforts, and rogue device insertions, creating a crucial audit trail to combat internal data leakage.
Problem Solving & Error Fixes
frequent problems encountered when trying to protect a USB drive on macOS.
If you right-click your drive and don't see the Encrypt choice, the drive is using an MBR partition map. You must back up your files, open Disk Utility, click Erase, and change the Scheme to "GUID Partition Map". The encrypt choice will then become available.
For Mac-encrypted drives: Right-click the drive in Finder and select "Decrypt [Drive Name]". You will need to enter the password to authorize the decryption. It will process in the background.
For external software: Run the portable executable on the drive, authenticate with your password, and look for an "Uninstall" or "Decrypt all" choice in the software controls.
macOS does not have a backdoor for encrypted drives. If you did not save the password to your Keychain during setup, and you cannot remember the password hint, the data is permanently inaccessible. You will need to erase the drive completely in Disk Utility to use the physical USB stick again (this destroys the locked data).
If you lose an encrypted drive, the finder cannot open it to see who it belongs to. Native Mac encryption does not offer a recovery contact screen. If you use external portable security applications, look for native "Lost and Found" controls. These let you embed your name, email, and phone number into the password prompt screen, ensuring a good Samaritan can return your hardware without ever accessing your locked files.
Common Questions and Answers
Can I encrypt a USB drive on Mac without losing data?
Yes. If your drive is formatted as Mac OS Extended or APFS with a GUID partition map, you can right-click the drive in Finder and select "Encrypt". This protects the drive without erasing the current files.
Ways to encrypt a USB drive on Mac using Terminal?
Advanced users can use the `diskutil` command. First, find your disk identifier using `diskutil list`. Then run `diskutil cs encryptVolume [identifier]`. You will be prompted to enter and verify a passphrase.
Ways to access an encrypted USB drive on a Windows computer from Mac?
If you encrypted the drive using Apple's Disk Utility (APFS or Mac OS Extended), you cannot access it natively on Windows. You must use external cross-platform encryption software like Folder Lock, USB Secure, or VeraCrypt before putting data on the drive.
Is BitLocker compatible with Mac for USB encryption?
No. BitLocker is a proprietary Microsoft encryption standard. macOS cannot read or write to BitLocker-encrypted drives natively without purchasing selected external utility software designed to bridge the gap.
Can a virus spread through a password-protected USB drive?
Yes. Encryption protects data from being read by unauthorized humans. If your Mac is infected with a virus, and you unlock your USB drive, the virus can copy itself into the decrypted volume. Encryption is not antivirus software.
Ways to securely erase all data from a USB drive?
In Disk Utility, select the drive, click Erase, and click "Security choices" (if available for that drive type). Move the slider to the right to write zeroes or random data over the entire disk multiple times, preventing forensic recovery.
Our Verdict on Mac USB Encryption
If you live entirely within the Apple ecosystem, the native Disk Utility and Finder encryption functions are flawless, free, and incredibly secure. That said, if you regularly move files between a MacBook and a Windows PC, native tools will leave you stranded. For seamless cross-platform security, we highly recommend trying a dedicated tool.